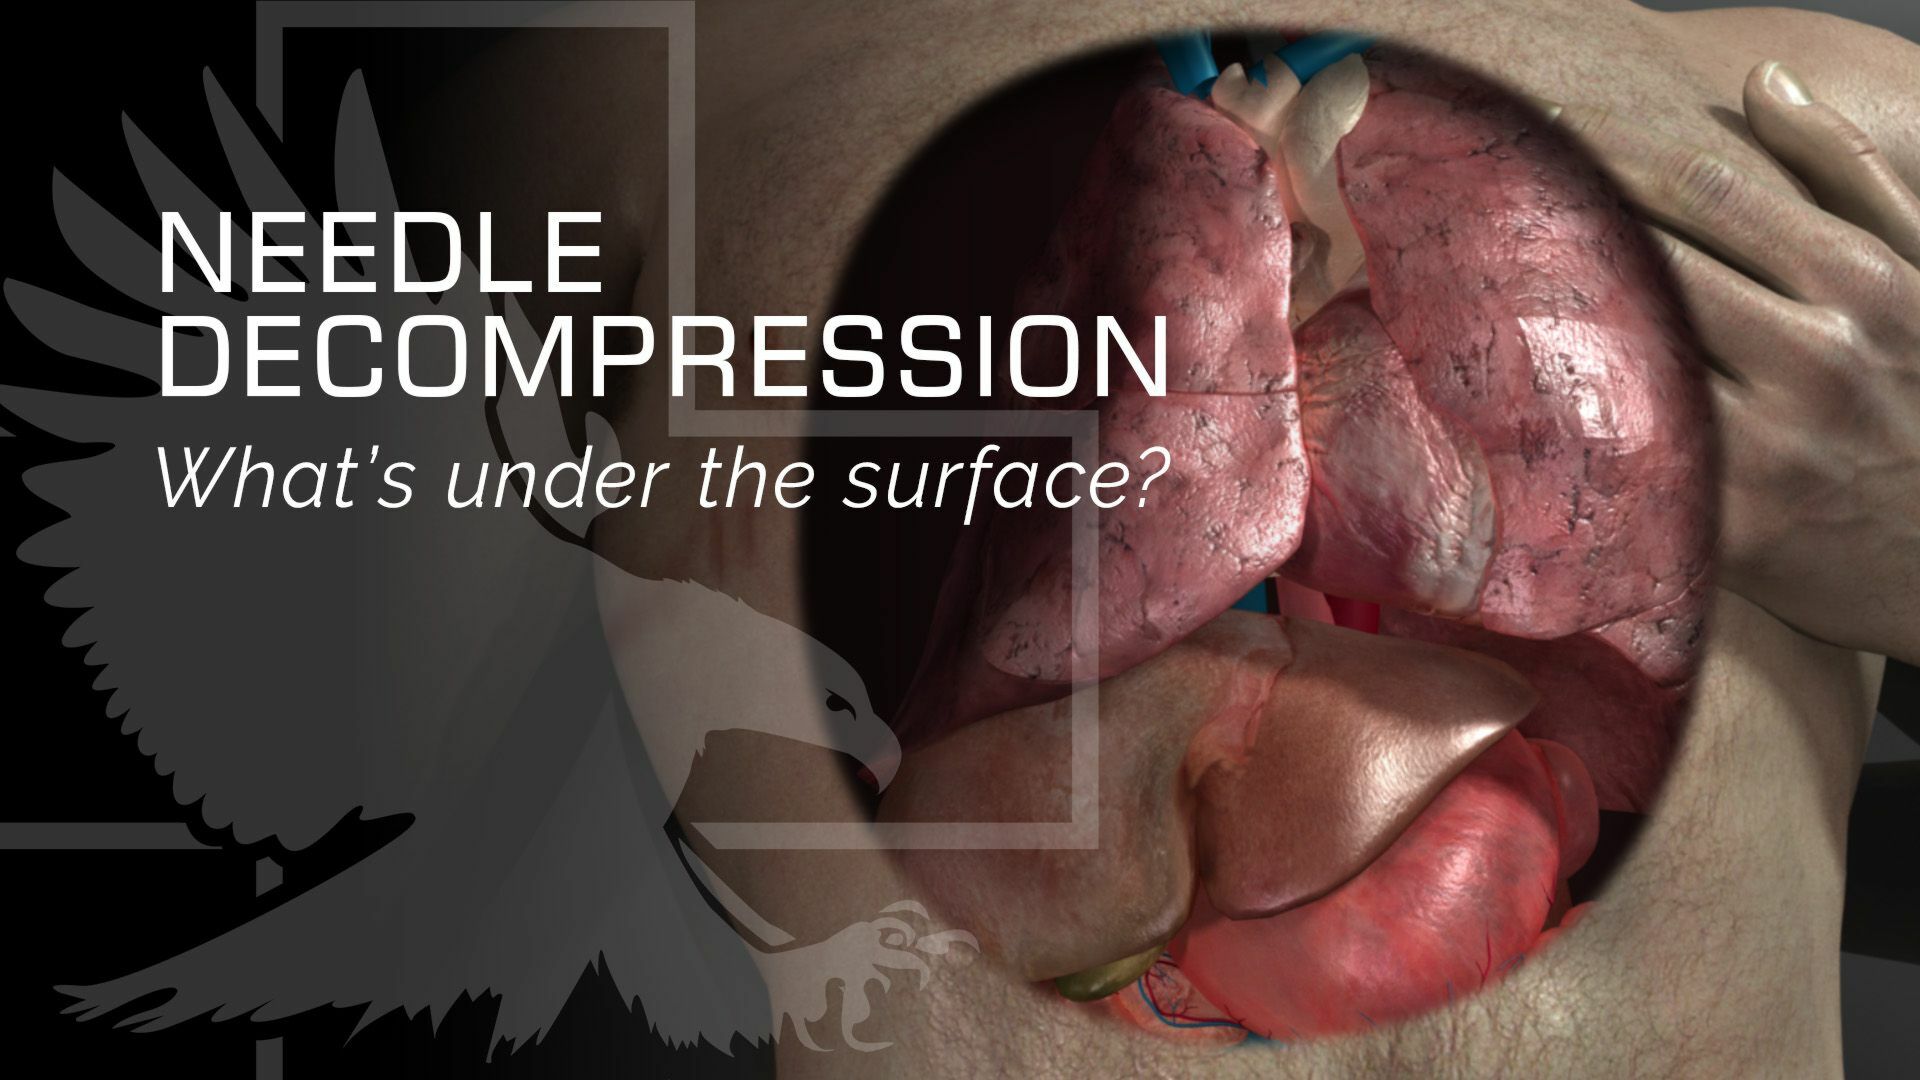
Hey guys, Doc Miles at North American Rescue. I'm going to go over, the anatomy of the chest wall. And so when you do a needle decompression, it's important that you understand what the layers are that you're going through, so you know, how far to go and when to stop.
Needle Insertion & Anatomy
So depending on your protocols, you're either going to have a 10 or a 14 gauge needle for needle decompression. The layers of the chest wall in general, stay the same wherever you're at. So I've identified my landmark to hit the fifth intercostal space, anterior axillary line. First thing I'm going to hit is skin. And I can either make a small skin incision with the Enhanced ARS, or it can just penetrate straight through the skin.
I'm going to hit skin. I'm going to hit some subcutaneous tissue. And then as I proceed to go, I'll probably hit a small amount of muscle. And then I'm going to hit the rib, and I can feel that needle bouncing on that rib. And that's exactly where I want to be. Now, I want to direct the needle over the rib because below the rib is going to be the intercostal nerve artery and vein. And I definitely don't want to penetrate that I can cause a nerve injury or I can cause bleeding into the chest, which we don't want to do with our patient.
Now that I'm hitting the rib, I'm going to place my finger right at the skin line, and then I'm going to back up one. Two, three centimeters. And that's going to be my safety, so don't penetrate further into the chest cavity than I need to. Now I'm going to walk it over the rib. And as I do that, I'll start penetrating through the intercostal muscles. Now, the next thing that I hit is very important to feel, and that's going to be that parietal pleura. Once I hit that parietal pleura, I'm going to feel a little pop as it goes, and then I know that I've entered the plural cavity and I haven't penetrated too far because I'm not past my three centimeter mark on my needle. At that point, I'm going to stop progressing the needle. I'm going to hold the needle in place and all I'm going to do is angle up. And then thread my catheter into the chest. And that way we can safely insert it going through each of the layers from skin all the way into the parietal pleura, and still stopping short of hitting the heart, once we get into the thoracic cavity.
Confirmation of Airflow
What I can do is I can take my Capnospot® place it on the end, and as that air escapes, it changes color to show me that CO2 is exiting the chest and it's performing as it's supposed to.
Understanding Tension Pneumothorax
So now I've successfully done a needle decompression. So what does that really do in a tension pneumothorax? Well, in a tension pneumothorax, we've got a lot of air that has entered the pleural cavity and that expands a large pocket of air inside the chest, but it's outside of the lungs. What it winds up doing is not only collapsing that lung, but more importantly, that pressure builds up on the inferior vena cava.
The inferior vena cava is what supplies blood to your heart to then pump to the rest of your body. With enough pressure, that can stop blood flow going to your heart, and that's really how you die of a tension pneumothorax. So by placing this catheter into the cavity, I now allow that air to exit the cavity to the outside that then decreases pressure on that inferior vena cava blood flows through it again. That lung can re-expand and now we've got our patient doing much better than they were with that tension pneumothorax.


